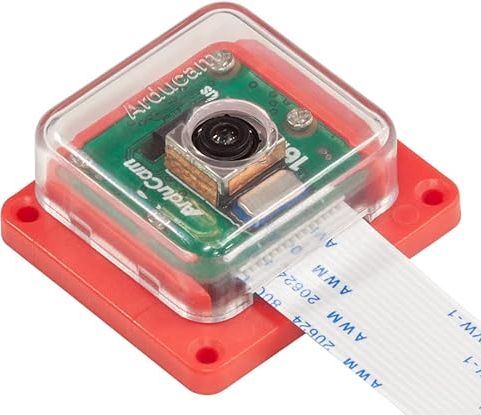
I bought my first (and so far only) Raspberry Pi computer in 2021 along with the 5 MP “Pi cam 1” and set it up to capture time lapse images of a woodworking project. It performed well, capturing images every 15 minutes while I constucted my kayak building project over a period of 18-months. The result is a 2-minute time lapse movie. In late 2022 I participated in a Kickstarter campaign for Arducam’s new 16 MP autofocus camera for Raspberry Pi, and ended up receiving one at a discounted price a few months later.
The Backstory
 My newly acquired high resolution Arducam sat on a shelf for over a year for several reasons. First, my “Pi Zero W” computer is one of the lowest power models and I read it was not sufficient to handle the high resolution video produced by the 16 MP camera. Second, I learned the Arducam brand camera was not compatible with the open source software - MotionEyeOS - which I installed on the Pi to run the camera. And lastly, I finished my woodworking project and hadn’t started anything new. Things changed recently when I decided to start a new woodworking project and wanted to create another timelapse video to document the process.
Arducam Upgrade for Raspberry Pi
I wanted to use the new camera to take advantage of higher resolution images so that the video would be clearer and more detailed. But the aforementioned problems remained.
Solutions
- I found an alternative to the MotionEyeOS - just the Pi OS with libcamera extensions installed;
- I didn’t need to capture images at 16 MP to create the time lapse video, lessening stress on the computer;
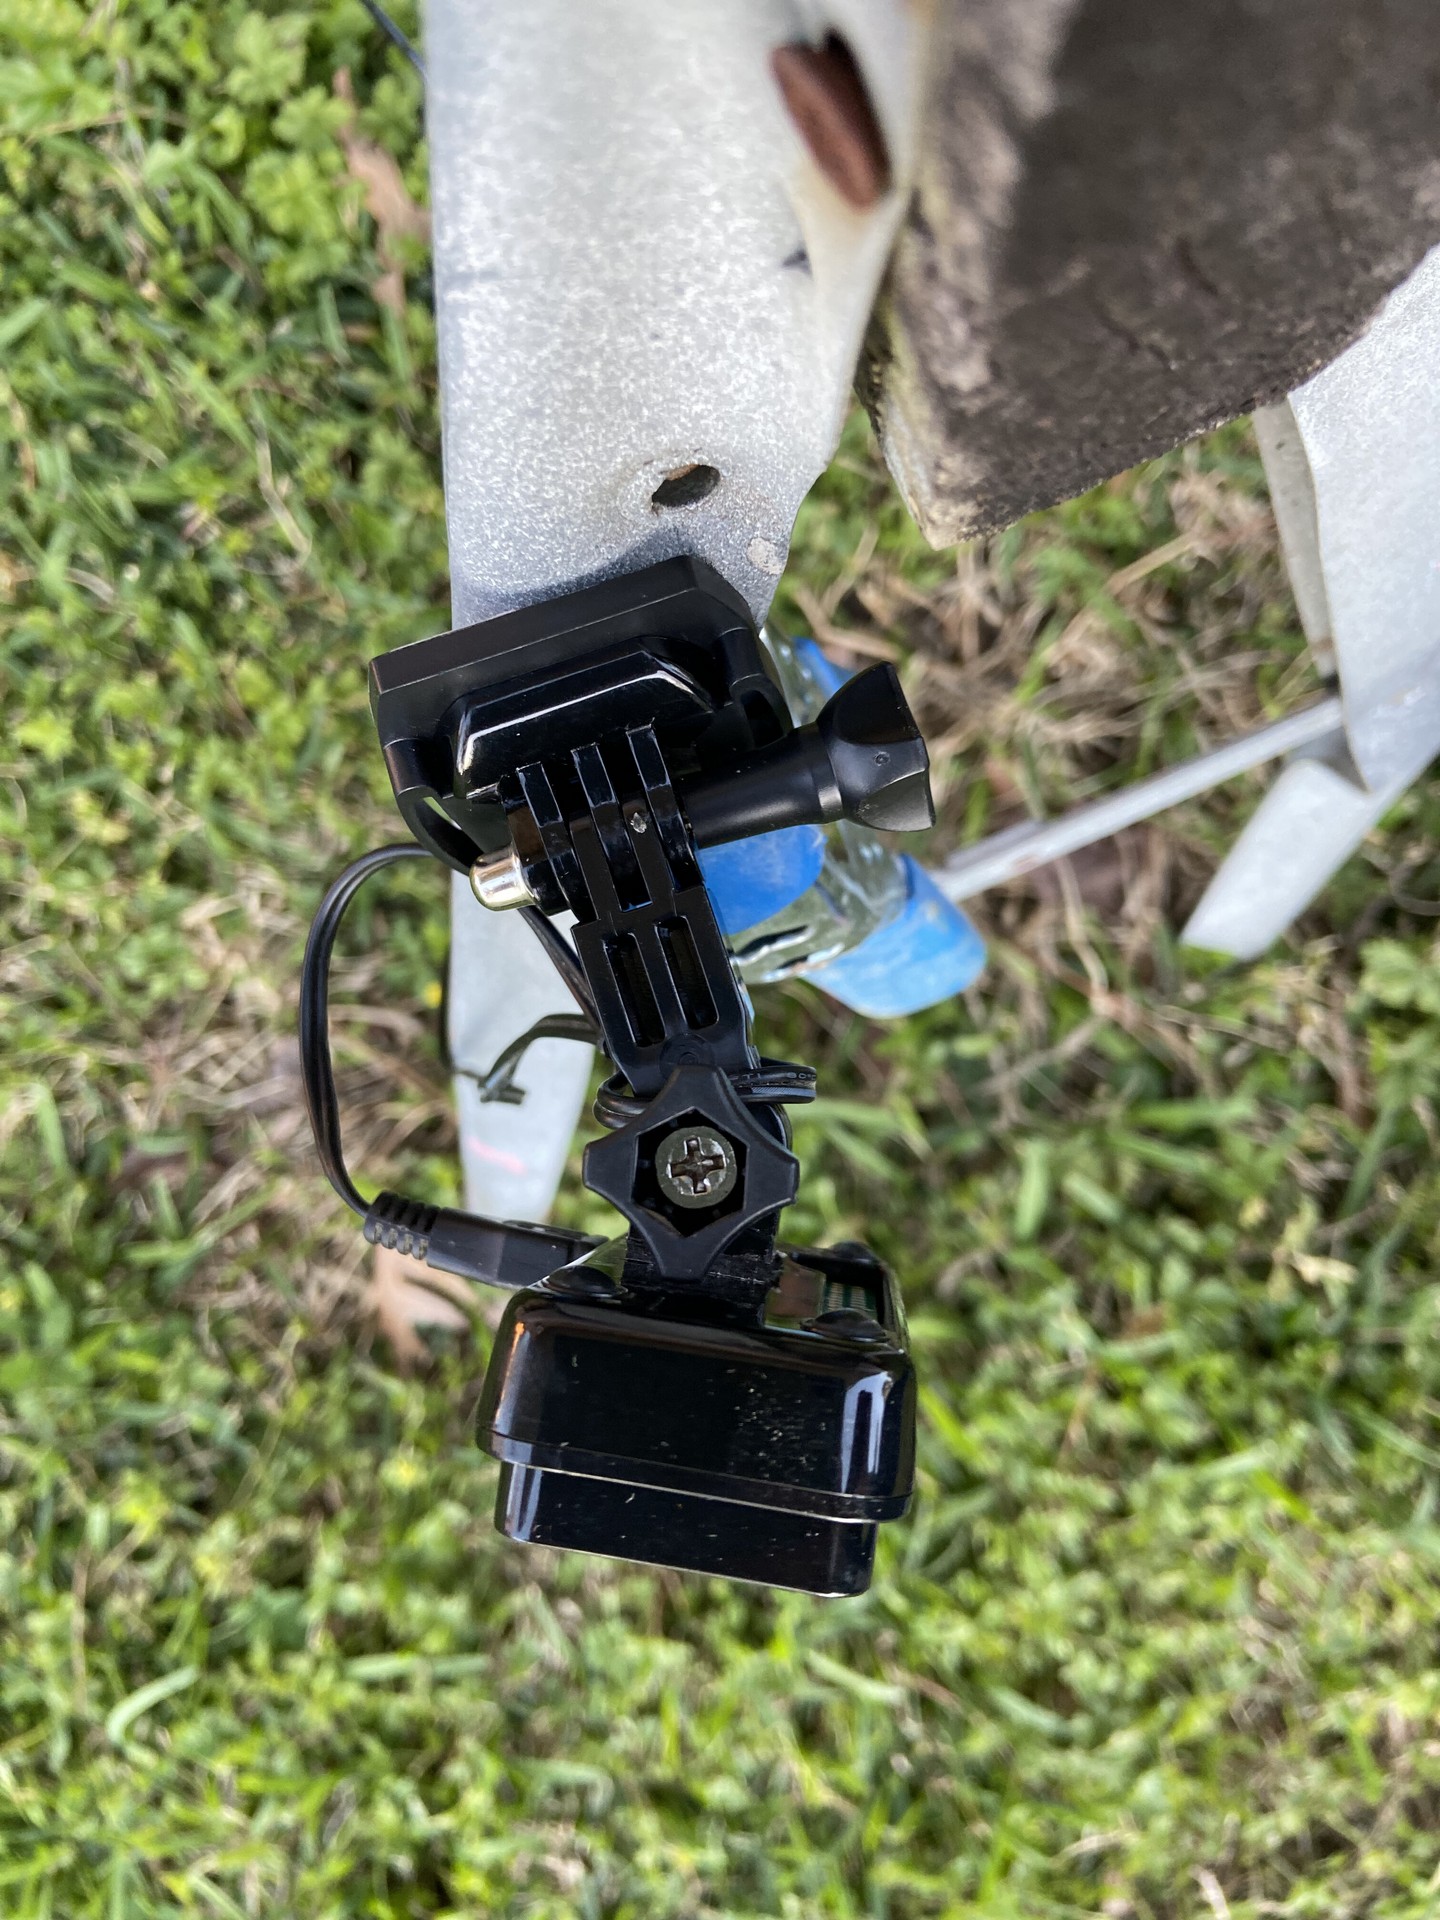
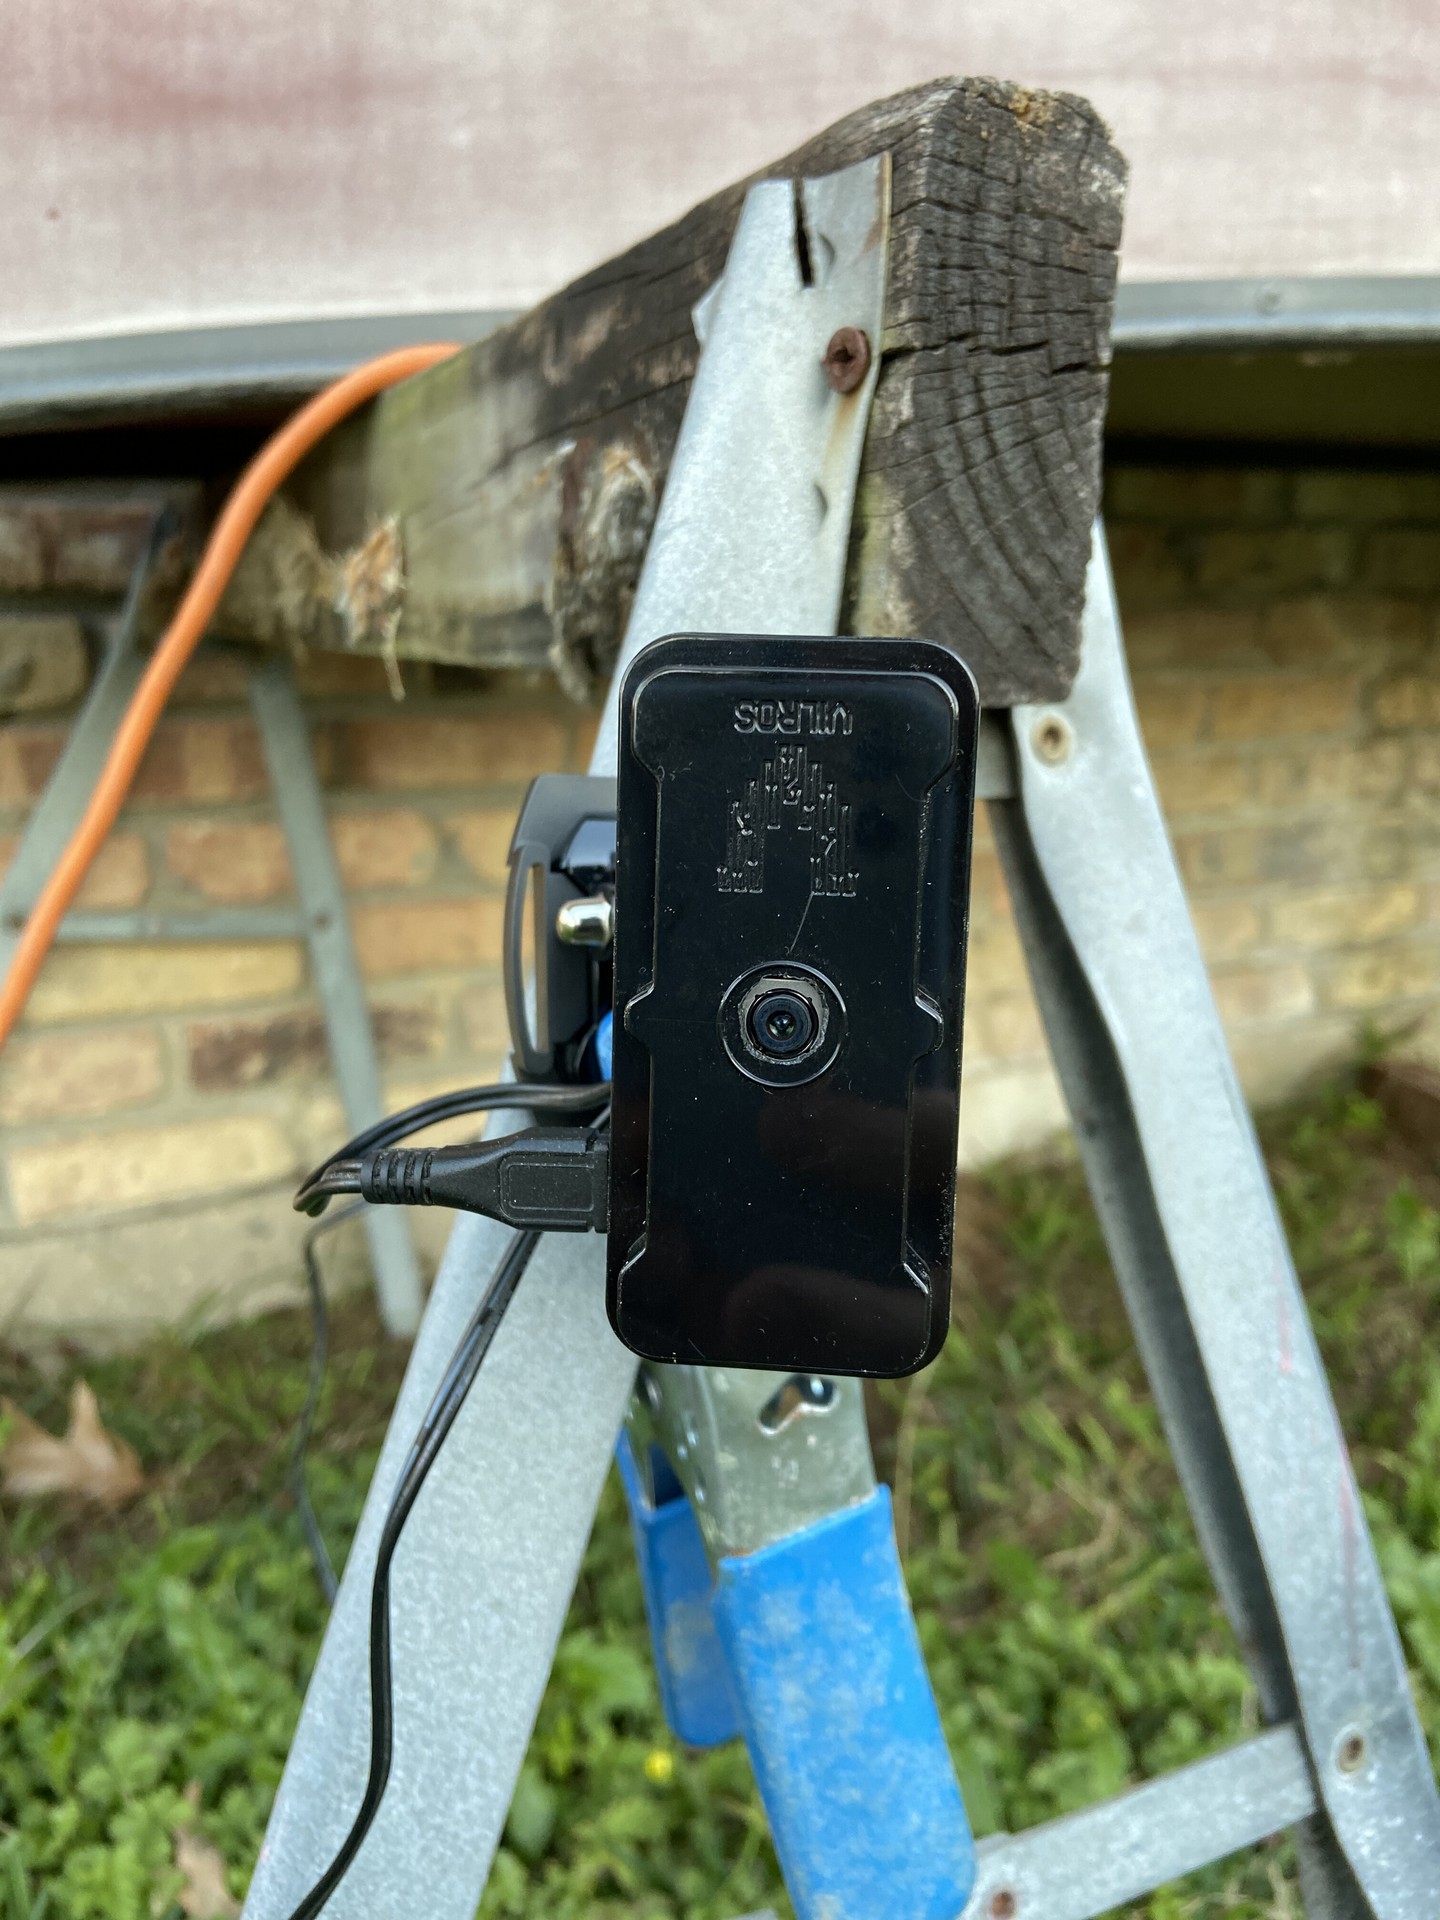
- I used spare “go pro” style camera mounts to build a better Pi cam mount.
Libcamera
Libcamera is software. As the developers say it is “An open source camera stack and framework for Linux, Android, and ChromeOS.” After installing the base Raspian (Linux) operating system, libcamera is installed to provide a means of controlling the camera hardware. Raspian includes “picamera” software to control the native Raspberry brand camera hardware, but it does not work (as I understand at the time of this writing) with Arducam hardware.
The libcamera software allows one to control the camera via code instructions. I was hoping to find what I considered to be thorough documentation and “recipies” of appropriate code snippets for various photographic situations. So far I haven’t found much other than code snippets and resulting photos from the efforts of a few hobbiests. If you know of more, I’d love to hear about it! Below is a list of the resources I’ve found so far:
| No. | Site |
|---|---|
| 1 | Waveshare.com |
| 2 | Arducam commands |
| 3 | “recipes” for PiCamera |
| 4 | Raspberry Pi forum, night sky photography thread |
Overnight Timelapse
My first test of the camera was to capture a sequence of images overnight with the Pi camera pointed at Polaris, the north star. The result will be a “star trails” image which is a composite of all images taken overnight. But, I made a mistake and didn’t sufficiently tighten the camera mount. Overnight it slowly, very slowly, drooped towards the ground. The video below shows this error as the image pans down towards the ground. But if you look close (in a dark room), really closely, you can see the apparent movement of the stars around Polaris. (Yea, yea astrophysicists - I’m well aware that it is our earth that is rotating and that, comparatively, the stars are stationary.) “Lame” describes the following video as I’ve seen many that are much better. This was a first effort, and next time I’ll see about exporting as an animated GIF.
Thankfully, Photoshop has a command to auto-align a stacked layer. This allowed me to “undo” the drooping camera mount problem, bringing the stars much closer to being in alignment. After applying other filters I stacked the images resulting in the following composite image. Not too bad for a first effort just eyeballing the aiming of the device at Polaris!
Code for Nighttime
This partial example of code sets the camera to focus on infinity, bumps up sharpness, defines a shutter speed, increases gain, and flushes image data to disk immediately. This is based on code used by subscriber “jbeale” in the Raspberry Pi forum.
out = os.system("/usr/bin/libcamera-still --autofocus-range full --denoise off --sharpness 1.75
--shutter 10000000 --gain 2 --awbgains 2.2,2.3 --immediate -o /home/admin/shared/"+date+"_"+time+".jpg >>
test.txt")

Daylight Timelapse
Test number two was a daylight timelapse sequence at comparatively close distance (about 5 feet) observing the bluebirds nesting in my backyard bluebird house. No motion detection was involved. The camera simply captured a full 16MP image once every 5 minutes. That night I visually scanned through the photos and discarded all without a bird in the frame. I batch renamed the images with sequential numbers, and then Photoshop was used to process the sequence into a very short video shown below.
Code for Daytime, Close Focus
This partial example of code sets the camera to macro focus - close up, tells the autofocus camera to base focus on a particular portion of its field of view, sets exposure to daylight, and flushes image data to disk immediately.
out = os.system("/usr/bin/libcamera-still --vflip --autofocus-range macro --autofocus-mode default
--autofocus-window 0.25,0.25,0.5,0.5 --awb daylight --immediate -o /home/admin/shared/"+date+"_"+time+".jpg >>
test.txt")
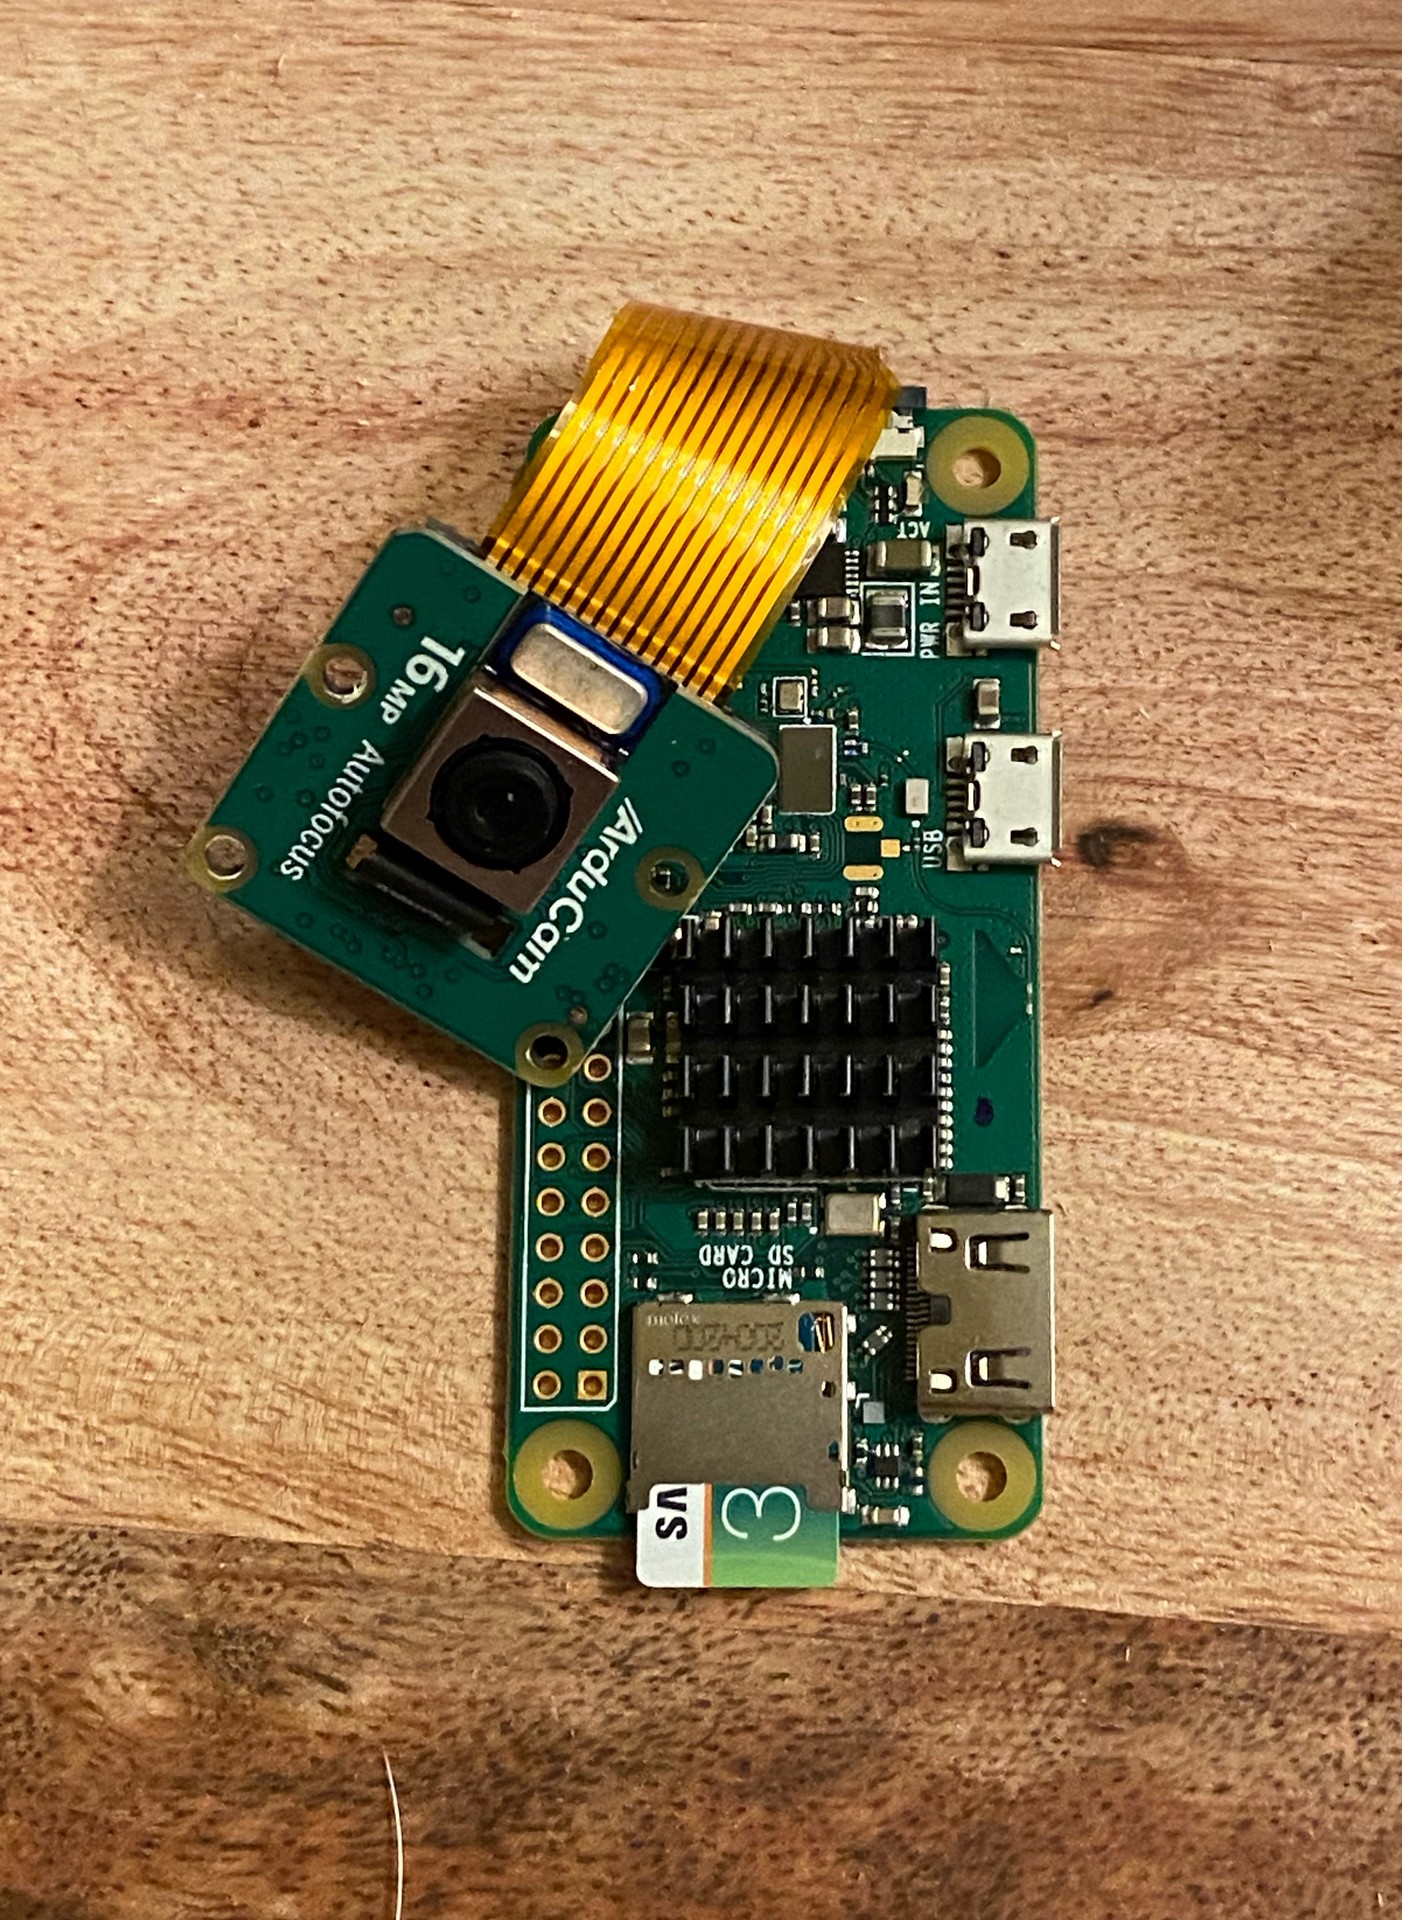
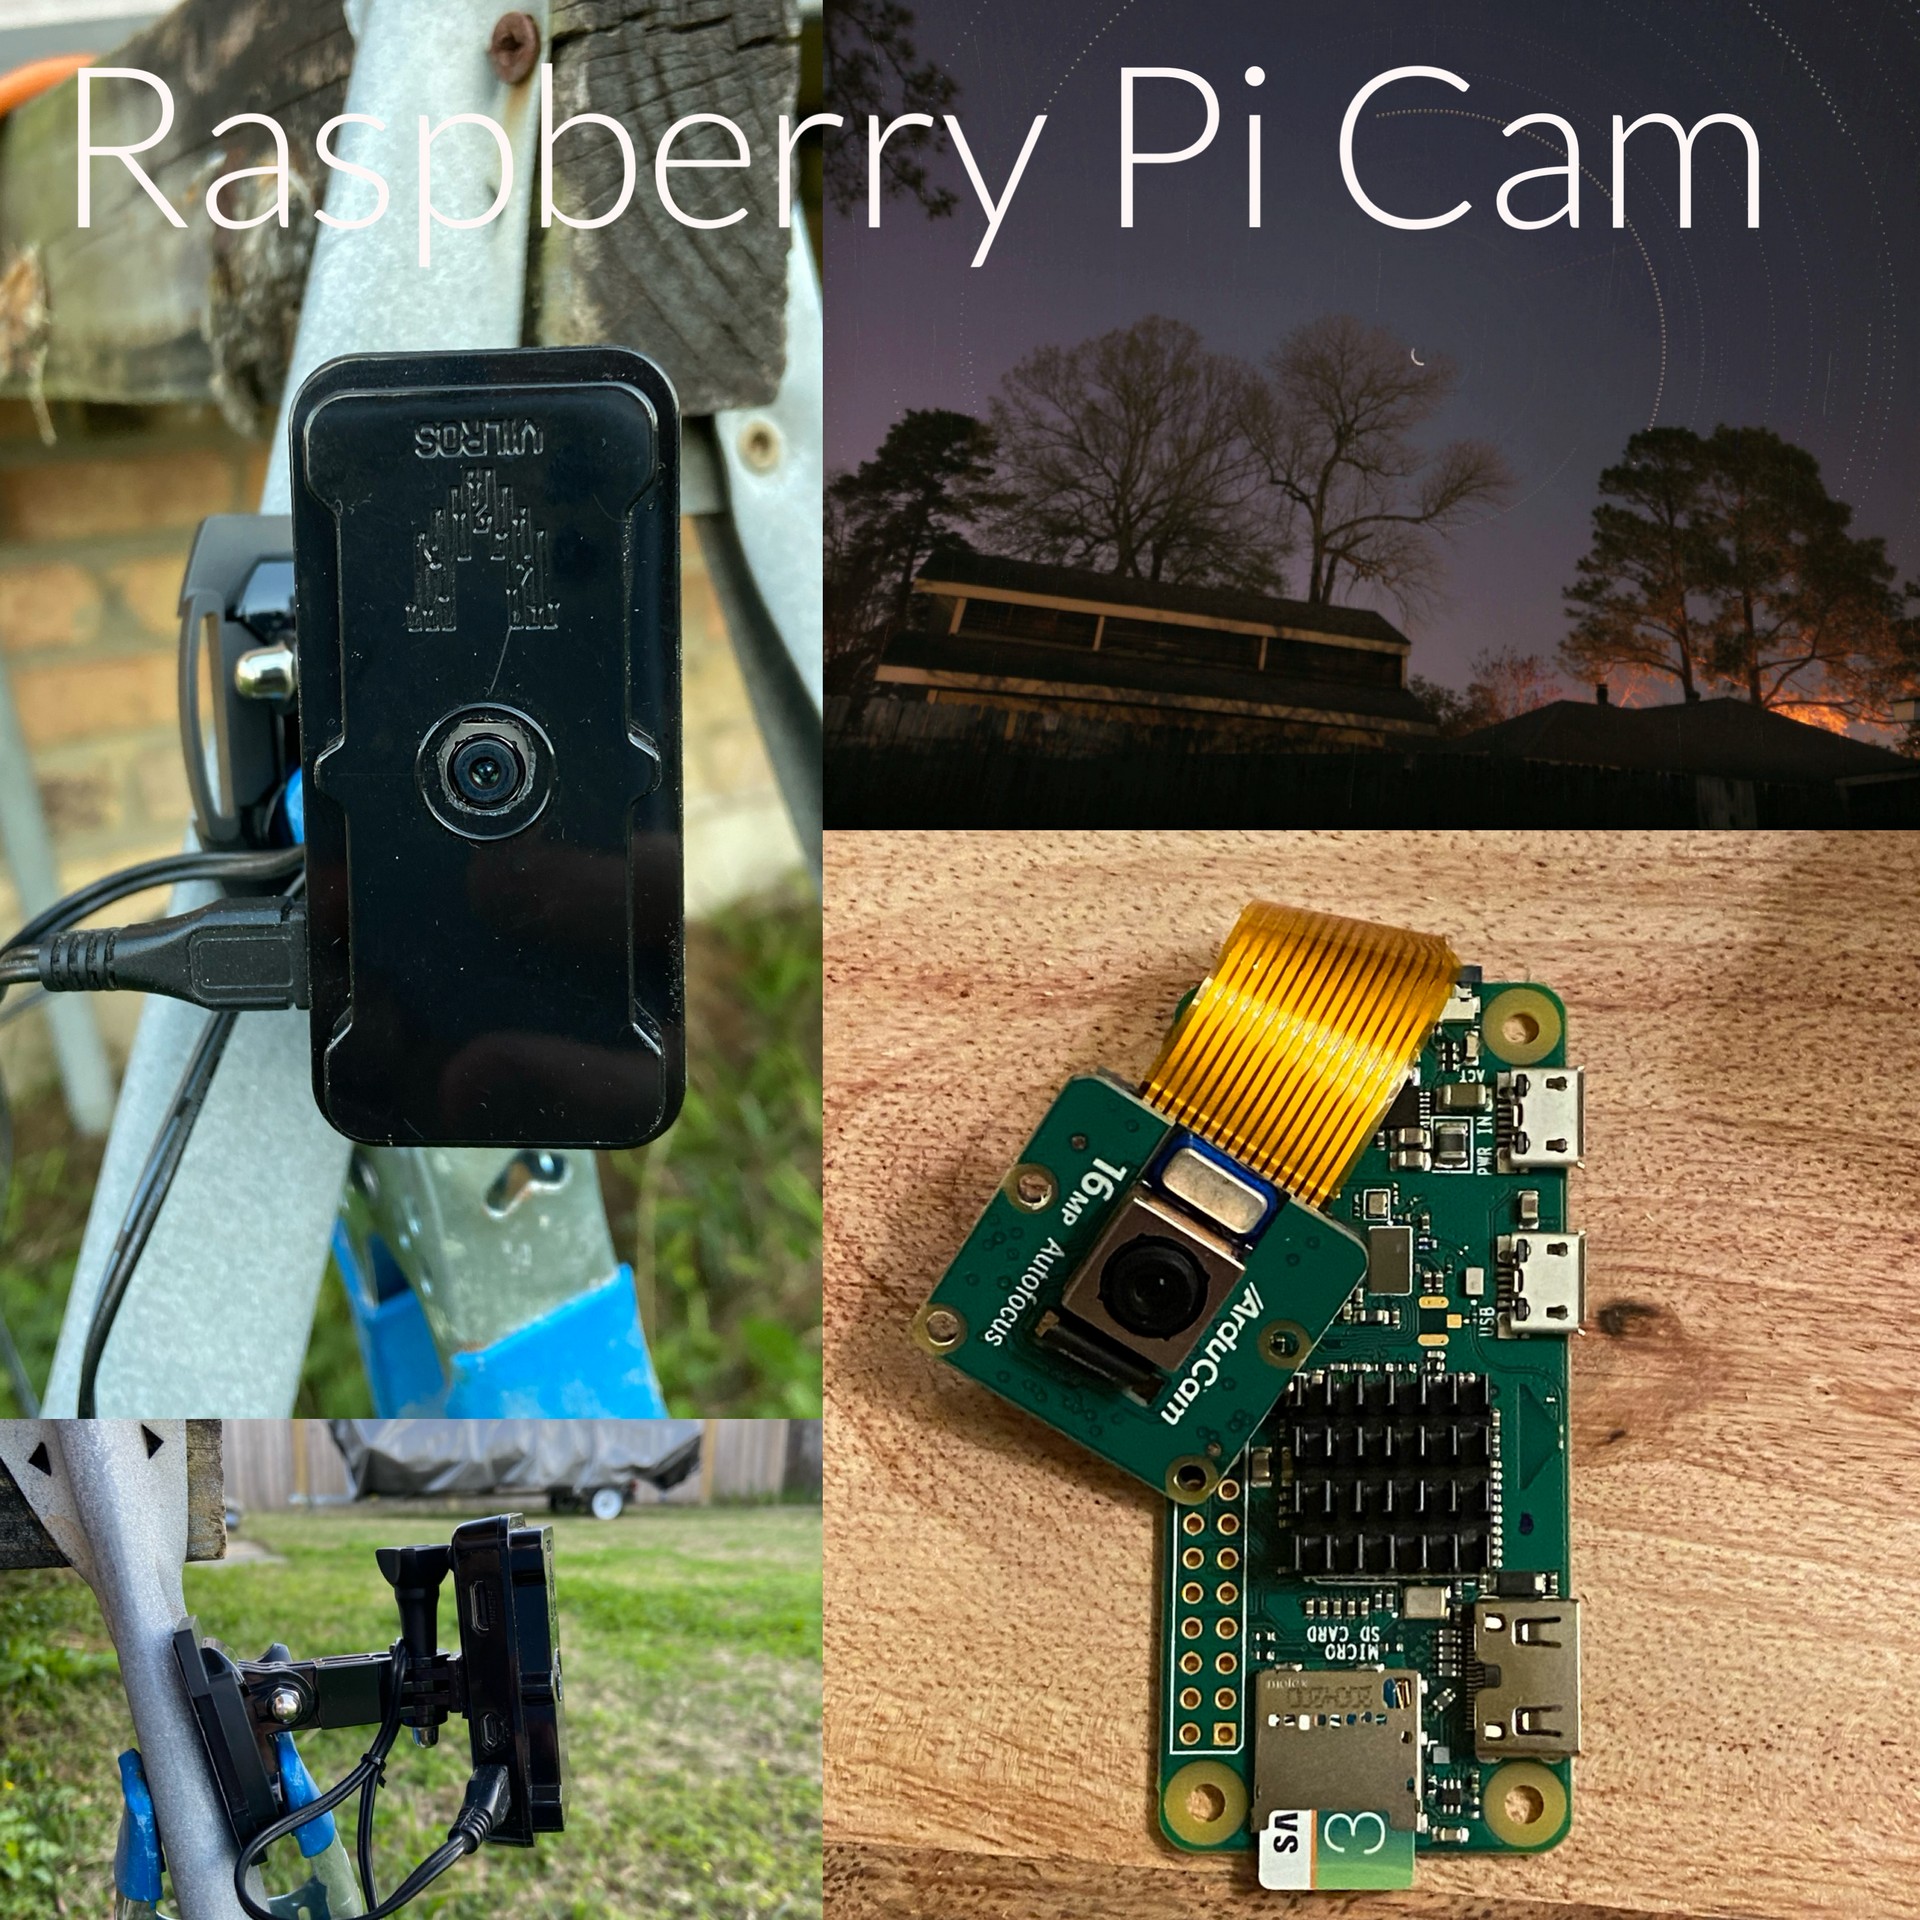
The portion of each code snippet above with “date” and “time” is part of the instruction to save each incremental image with a date and time filename. Each is a named variable populated earlier in the process, and it is a raspian OS script that runs everything. The gallery below shows the Pi cam and product images which can be inlarged. Afterward, I’ll provide step by step instructions I followed to set it up and full code examples.
Gallery

Step by Step Instructions
I took notes, but it is taking me a bit to decipher them and put things in a logical order. I experienced false starts and re-dos, so I’ll spare you my errors.
Hardware
I started with a Raspberry Pi Zero W, a 32 GB micro-SD card, power supply, Arducam 16 MP autofocus IMX519, ribbon cable (standard to small as required by the Zero models of Pis.
Software
-
Obtain the OS
- download Raspbian OS to any computer’s HD from here: https://www.raspberrypi.com/software/operating-systems/
- I chose Raspberry Pi OS (Legacy) Lite aka “bullseye”
- Arducam claims bullseye has appropriate drivers, while newer “bookworm” does not - or did not for me.
-
Install the OS
- use Balena Etcher to copy the OS image from the downloaded file onto your micro-SD card, inserted into your Windows computer.
-
Assemble the Pi
- connect the HDMI adapter, monitor, USB adapter, and keyboard. Insert the micro SD card, then plug in the Pi. You should see text flying up the screen.
-
Configure the OS
- you will be prompted to set the username and password
- configure location and networking. type: sudo raspi-config select Localisation options menu and choose your country code. en_US.UTF-8
- Networking (wifi) setup instructions can be found here: https://www.raspberrypi.com/documentation/computers/configuration.html#configuring-networking
or, type: sudo raspi-config go to System Options, Wireless LAN.
- select country code US
- also specify your time zone ( US Central)
- enter the SSID of your wireless network, then enter the password.
- test wireless connectivity; ping a valid website.
- enable SSH https://www.raspberrypi.com/documentation/computers/remote-access.html#ssh
- Interface Options, SSH enable.
-
Determine the IP of the Pi. Login to your router’s control panel and search device list for “raspberrypi”. 192.168.1.127
-
Test connection by SSH using Putty terminal emulator (if using a Windows computer.) Login with your username/password. If this works you can run the Pi “headless”, without connection to a monitor and keyboard. You access it by SSH via the Putty application. This has the advantage of being able to copy commands and scripts from one window and pasting them into Putty to execute on the Pi, rather than tediously retyping long script commands.
Code
Content pending…
Future Improvements
I’d like to get one of the new Raspberry Pi 5 computers to pair with my 16 MP Arducam. This would have plenty of processing power, allowing me to capture full resolution video. I’m certain there are other things I could do with it that I presently can’t even imagine. In fact, Arducam is promoting their new AI-enabled camera hat PiNSIGHT.