Reports of car and home burglaries in and around my neighborhood reported on the NextDoor app persuaded me to investigate a low-cost home security camera system. Many neighbors already have them so I figured “why not.” Much inspiration for the system I built came from TechnoDadLife and from Peyanski on Tech. Because I already had an older Dell Core 2 Duo desktop set up as a home NAS using OpenMediaVault, I decided to simply install a CCTV monitoring application onto that LINUX box since a) it is already running 24/7 and b) its use as a NAS is infrequent - meaning family members rarely access it so the computer has plenty of resources to spare.
My employer had an inexpensive, 8-camera system installed at our office several years ago. The workplace has since suffered a bit of automotive vandalism and glass breakage at the front entry but video coverage by these cameras failed to capture relevant footage. I was convinced that, given advances in technology, I could build a residential system for less and install it myself.
At first the “wireless” security cameras interested me until I realized that they’re more aptly called “WiFi security cameras” since you still have to run a wire to them for electric power. Also, their reliability is contingent upon the WiFi router. The only truly wireless surveillance cam requires a solar cell and rechargable battery pack, so they’re fairly bulky and it seems they’d require a clear view to the sky to maintain a charge. I spent considerable time examining a Raspberry Pi implementation of such a solar powered camera. This example served to capture time lapse photos of the construction of a home, but it did not provide nighttime security. Through continued researched I did learn that IR cams are available for the Raspberry Pi, but when I added up the costs for everything - Pi, camera, solar cell, battery, housing, over-charge protective circuitry - it proved cost prohibitive and likely unreliable. Plus I’d have to multiply this cost by the number of cameras required.
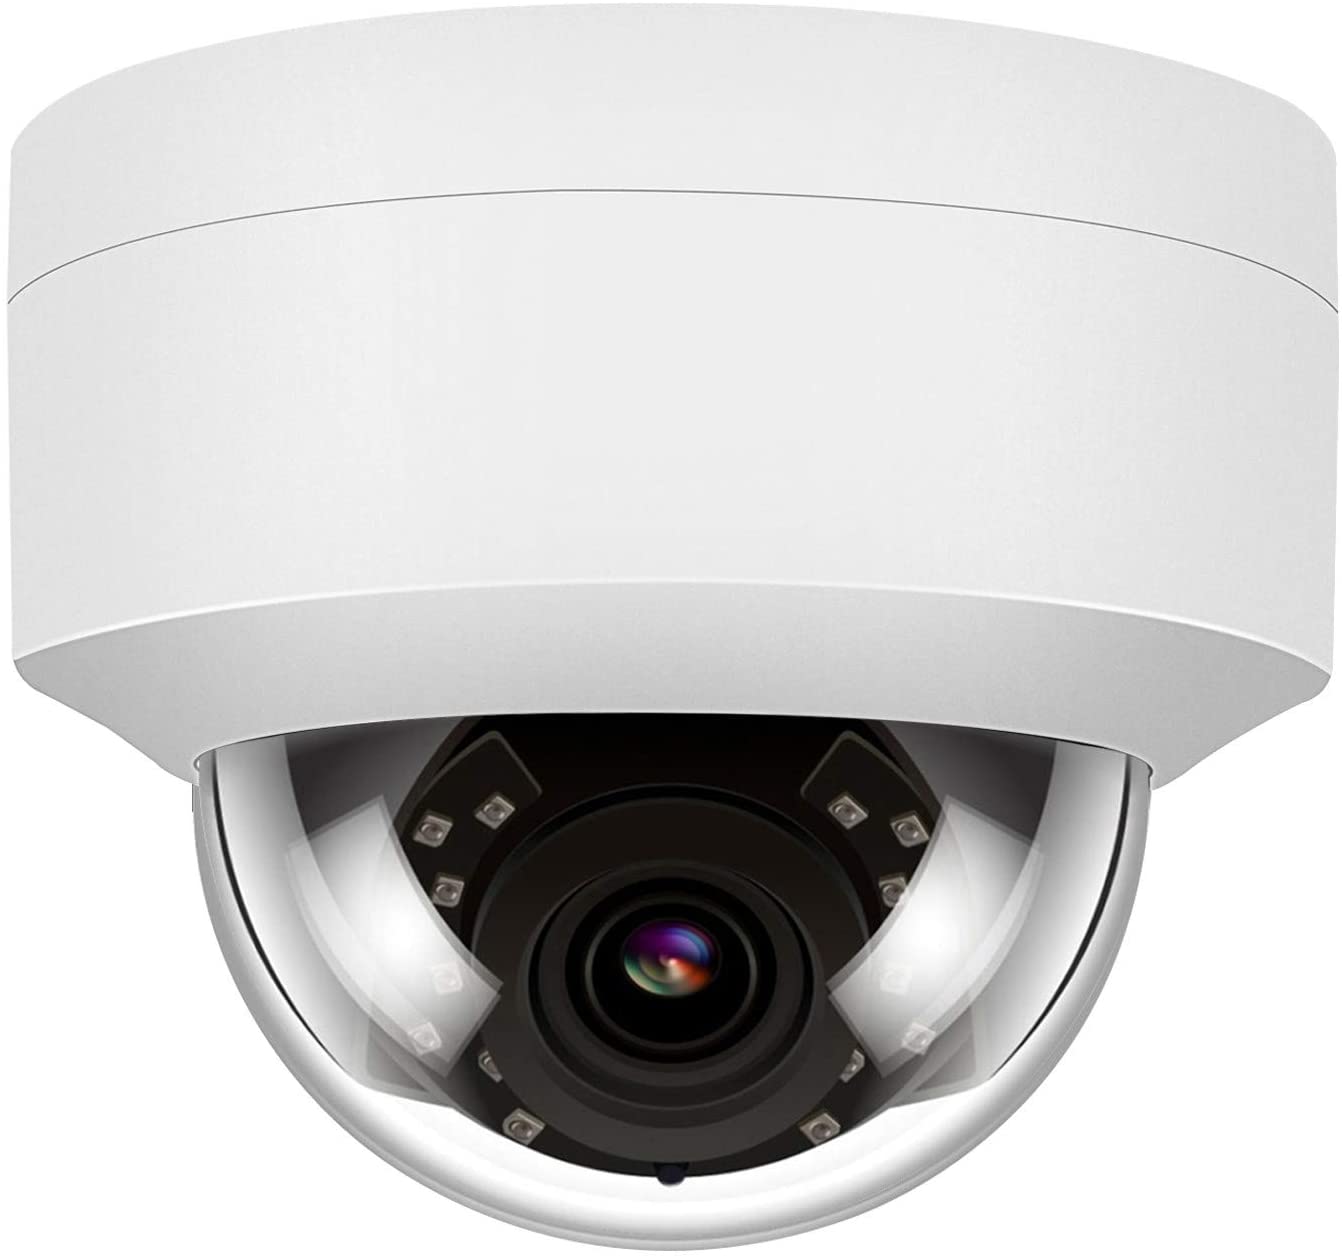
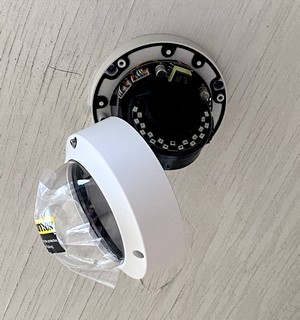
I decided that a series of Power over Ethernet (PoE) IP cameras better served my needs. I found some dome-style cameras which were perfect for mounting beneath the eaves of my house. They are reasonably unobtrusive. A single CAT 5e cable to each camera would provide both power and reliable data connectivity to my LAN after adding a PoE switch in the attic.
Hardware

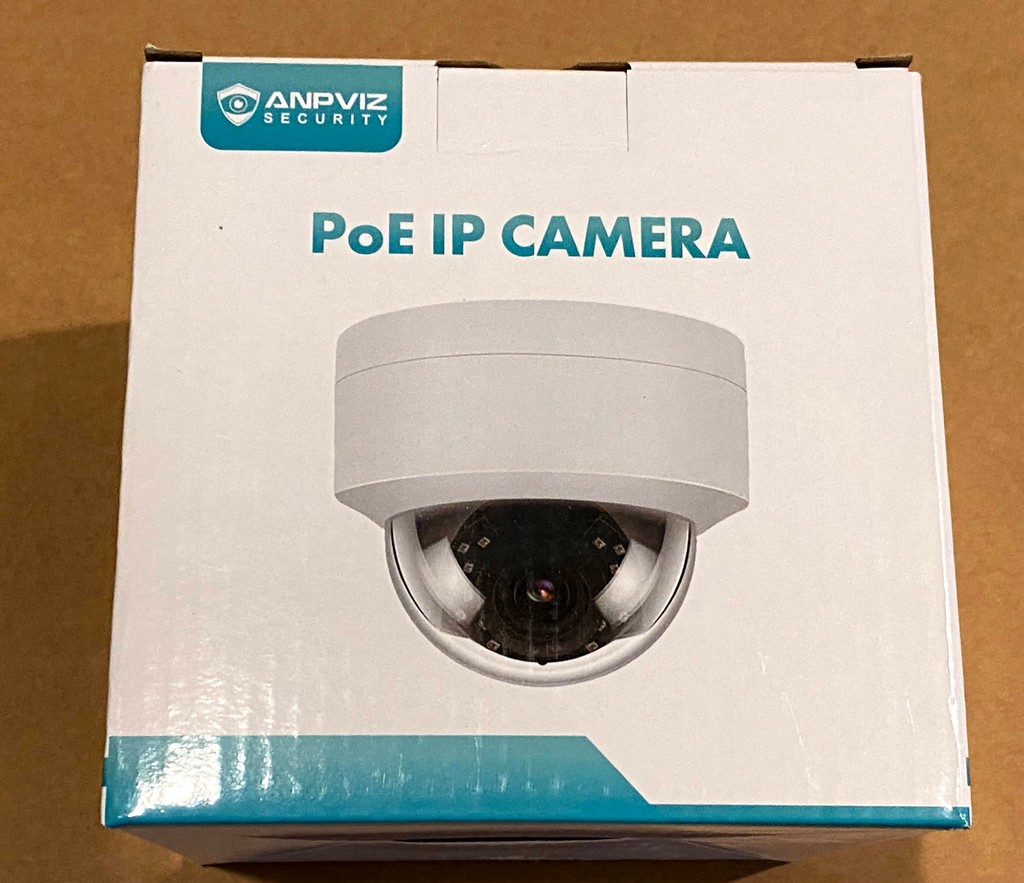
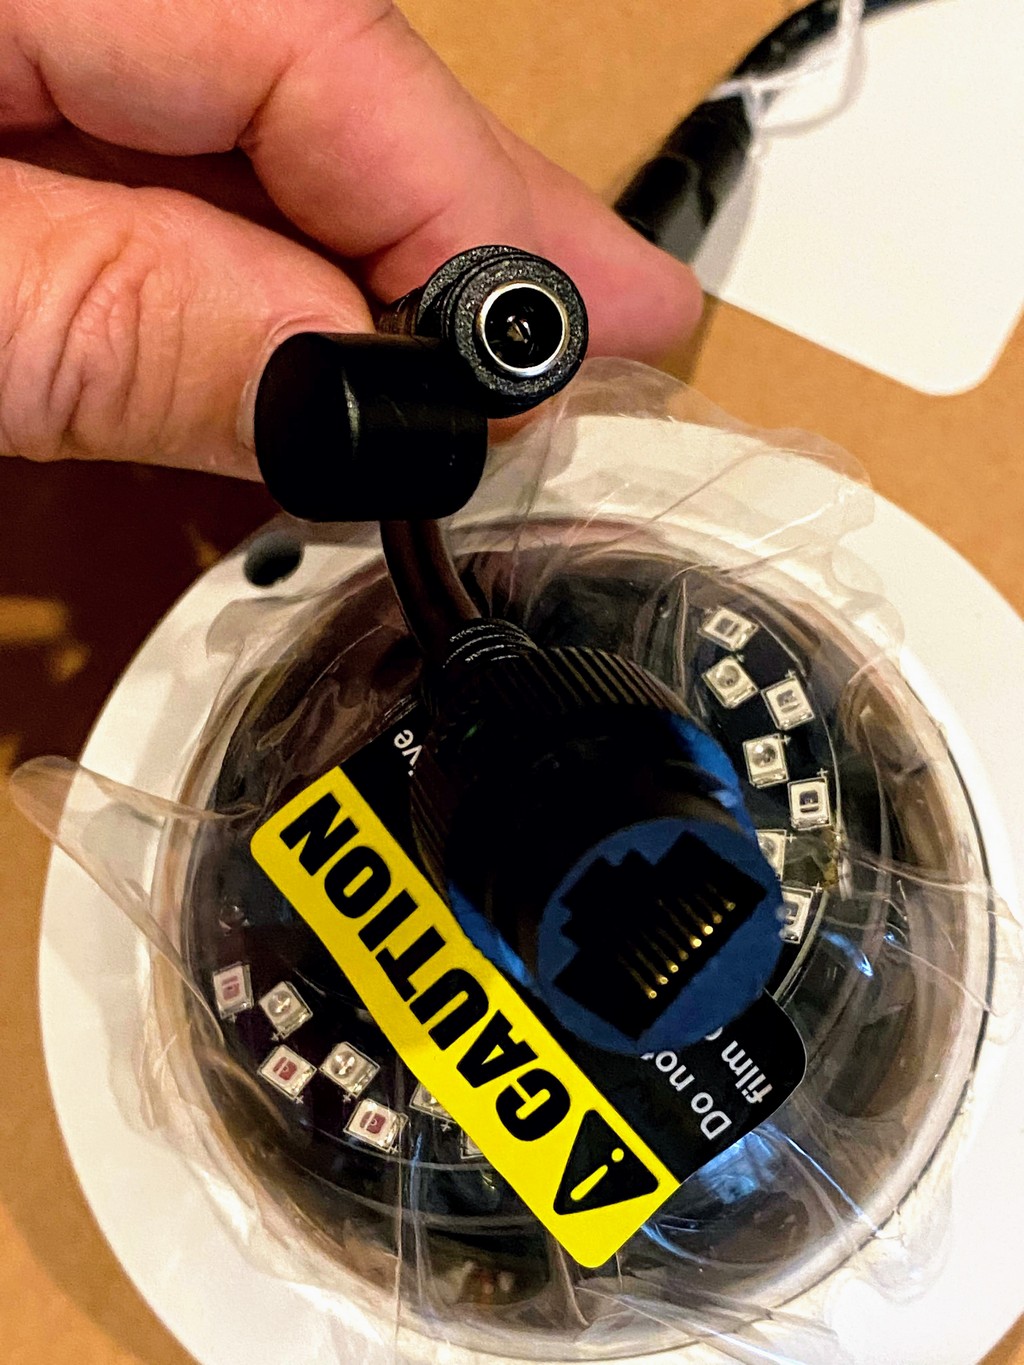
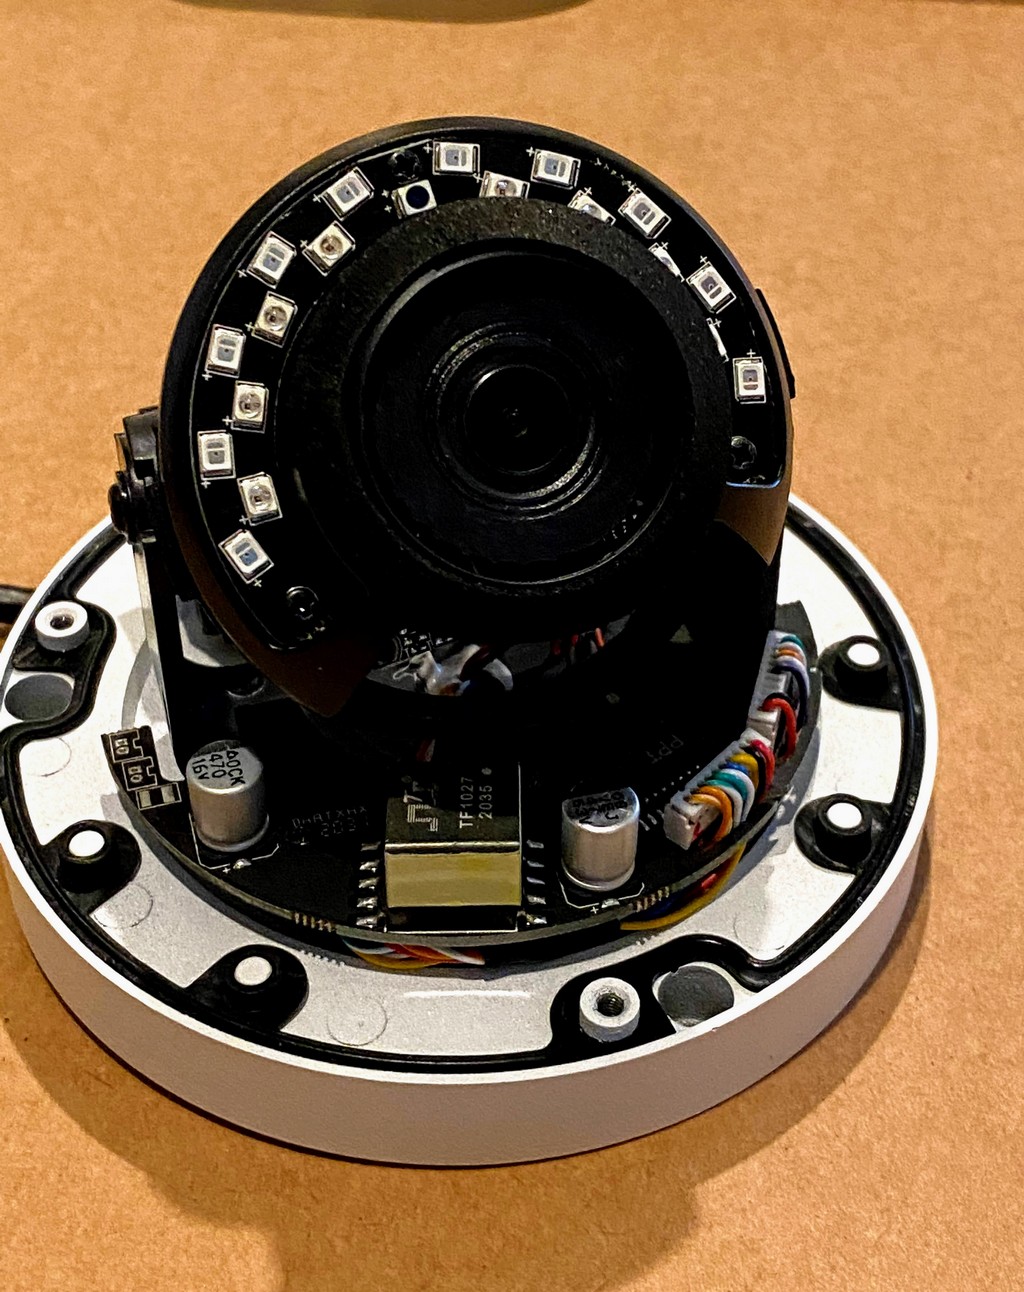
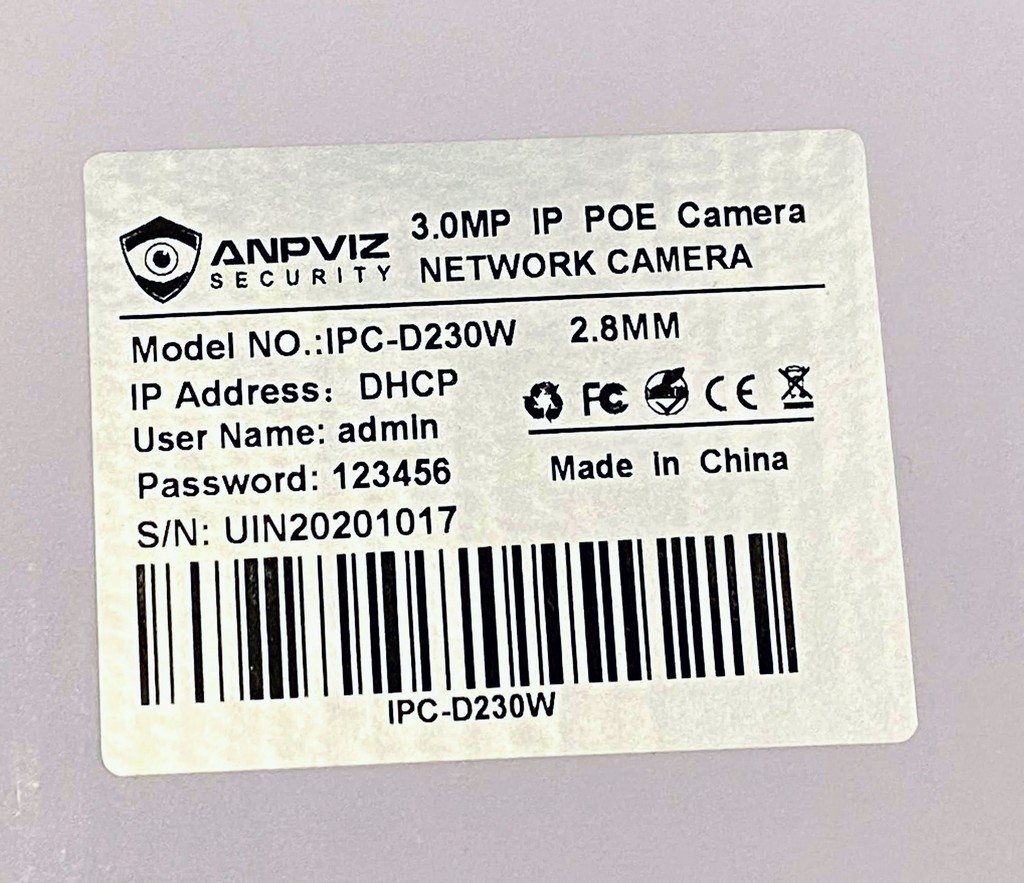
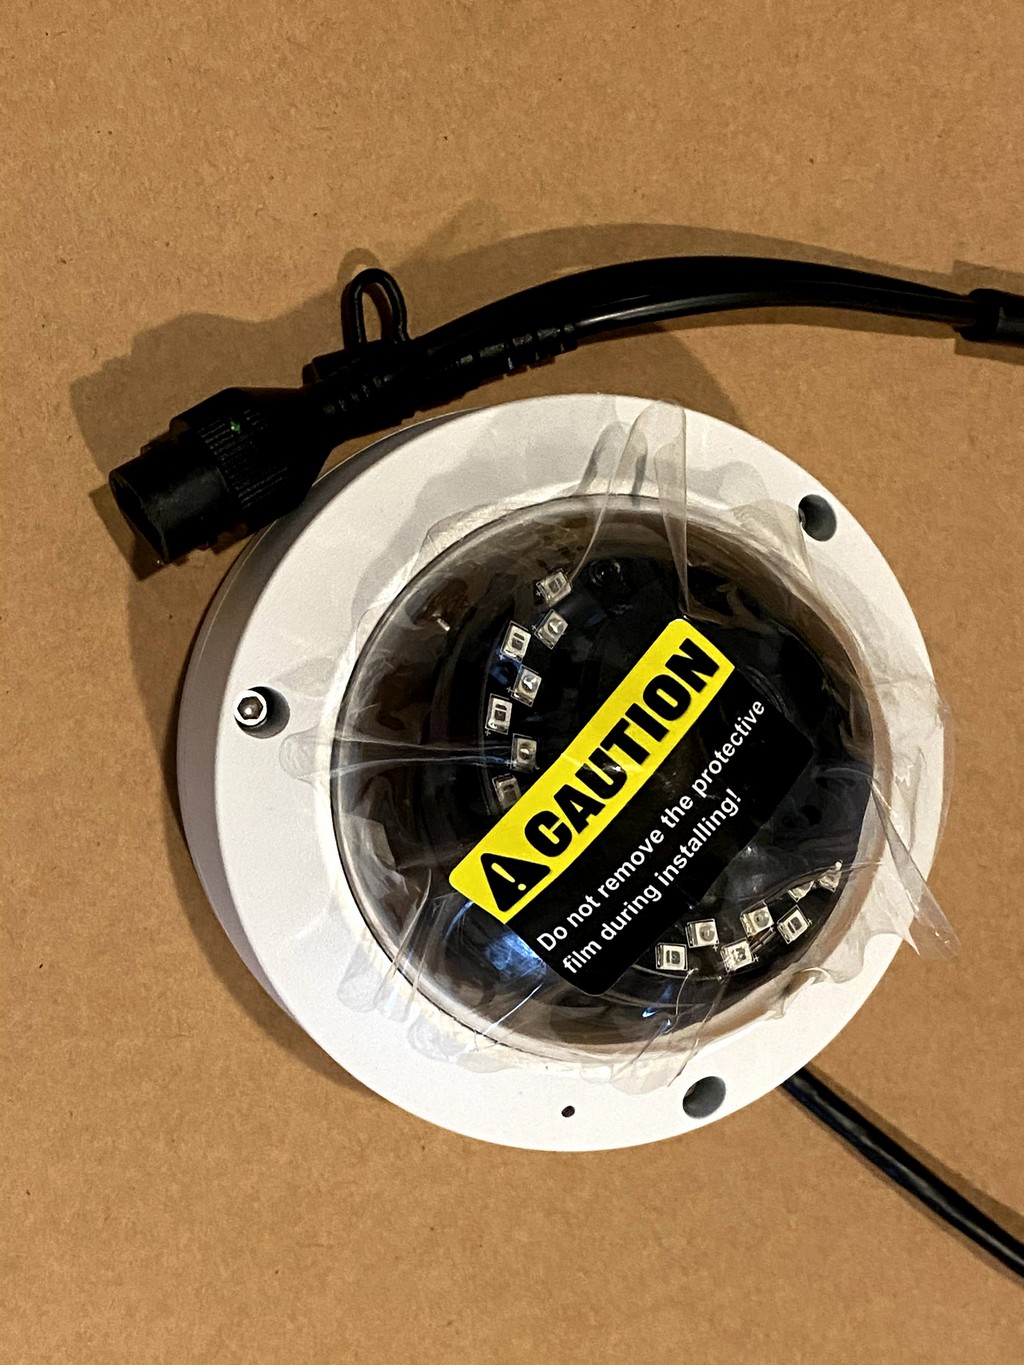
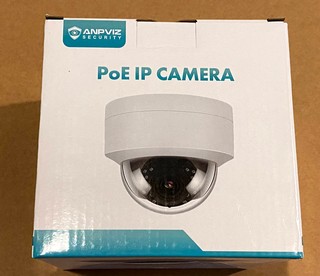
$35 each | Anpviz PoE IP Dome Security Camera, 3MP
- I’m starting with 3 of these. They are ONVIF compliant and provides RTSP (Real Time Streaming Protocol) streams, making them compatible with industry standard and open source software.
- There are also 5 and 8 MP versions of this camera available for a higher price, but read reviews before you buy as some purchasers have found the image of the lower resolution camera to be more vivid and clear. Further, higher resolution video requires corresponding increases in HD space for storage.
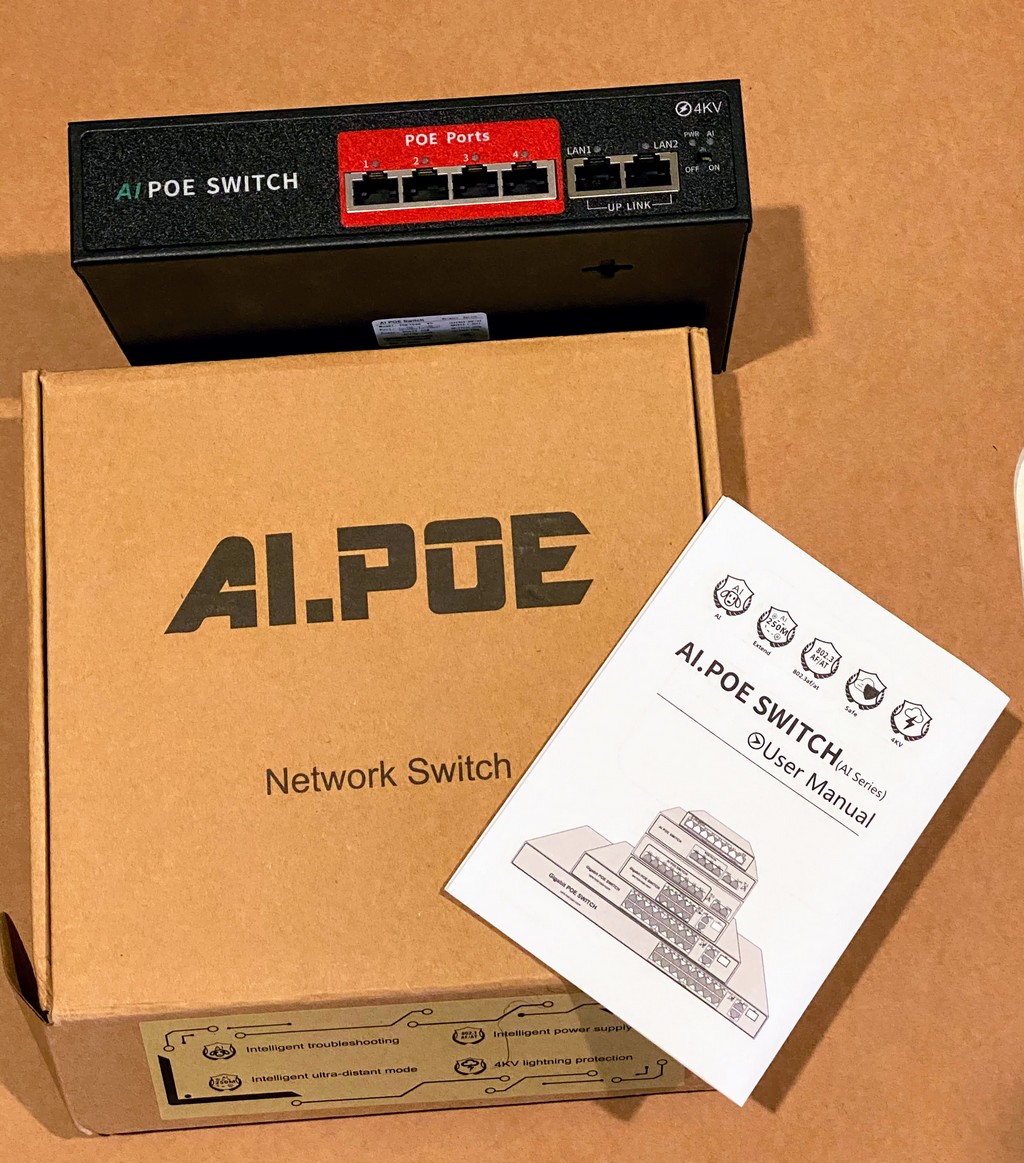
$20 | PoE Switch, 4 port + 2 uplink ports
$26 | CAT 5e cabling - two 25’ lengths and one 50’ length
No NVR (Network Video Recorder) is required since I’m using my OpenMediaVault NAS box.
Software
MotionEye is the open source security camera motion detection software I chose.
![]()
But there are many choices. I wanted a LAN-based solution that didn’t rely on a subscription cloud service. The following options were investigated but subsequently passed over for the reason noted.
iSpy - Server software is open source, app is fee based.
BlueIris - Commercial software for Windows, fee-based cloud service.
ZoneMinder - Evidently this is “the bomb”, but some reviewers complained it is taxing on computer resources. I didn’t want to overburden my NAS box, but to be fair I’ve since read that MotionEye can also be resource hungry. The phone app for ZoneMinder costs $5 but is a one time purchase.
Shinobi - This seems to be the newest entry in this space and is written fully in JavaScript. TechnoDadLife endorses it. The server software is open source, but the smartphone app is a $5 per month subscription, per phone to use.
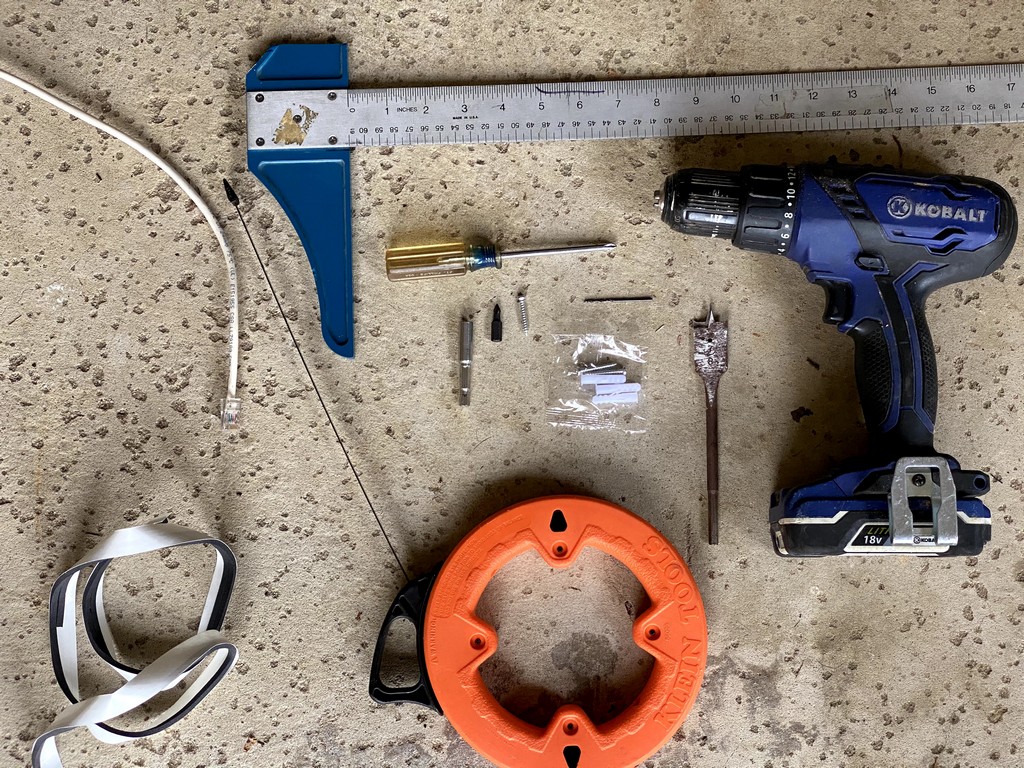
Tools

- Electric drill, cordless preferred
- 7/8" spade bit (if passing the camera’s cable fully through the mounting surface and not using a mounting box.)
- Small ~3/32 drill bit to drill pilot holes for the mounting screws. (I’m mounting into wood.)
- #1 Phillips screwdriver (the smaller size “star-point” screwdriver)
- #1 Phillips bit w/ extension for drill
- Ladder
- Measuring tape or ruler and pencil (optional, to consistently position the cameras under the eaves)
- Fish tape or “snake” - stiff wire to “fish” the CAT 5 cable up into the attic space from the eaves. I ended up using a more stiff sewer clean-out snake.
- Masking tape - to temporarily attach the CAT cable to the fish tool wire as I work it up into the attic.
Process
Conceptually planning the system was my first step. This involved walking around my home envisioning where I wanted to place the cameras and what field of view they would monitor. My focus was the front yard, front door, and my driveway access along the side. In the future I might add a 4th camera to specifically monitor the back door, but for now I decided against it feeling it would be an invasion of our privacy and our dog would trigger the motion detection far too frequently. Also, I investigated the attic, envisioning where I’d connect the PoE switch to my wired LAN and the subsequent CAT 5 runs to each camera.
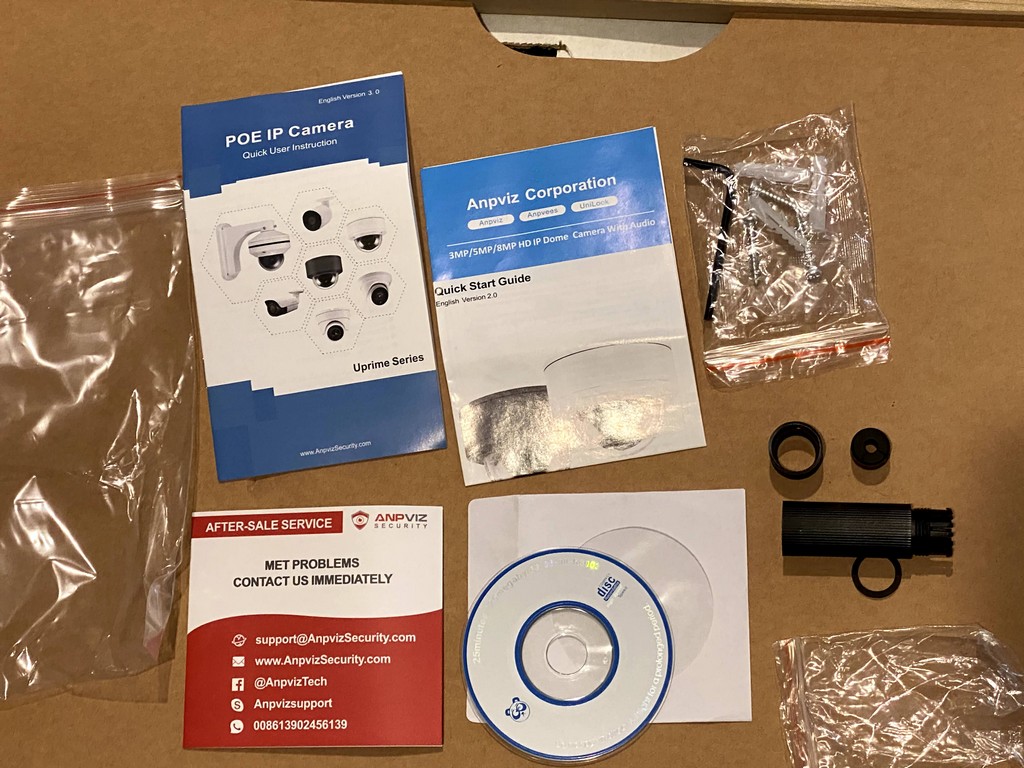
When I received the cameras and switch, I gathered a few short CAT 5 patch cables, unboxed the equipment and hooked everything together in the living room. This allowed me to complete the software installation on my NAS and preliminarily configure the cameras. I attached a “1”, “2” and “3” label to each camera.
Software Installation
Recently I had upgraded my OpenMediaVault from v4 to v5. This was appropriate for my NAS, but the upgrade produced changes so that the 2018 how-to video by TechnoDadLife for installing MotionEye is somewhat obsolete. Still, it is a good place to start. The process I followed for OMV v5 followed these steps:
For some of this I needed SSH ( secure shell, command line, terminal) access to my NAS box since it is “headless”, lacking a monitor and keyboard. I use Putty terminal emulator.
- apply updates to OMV
- Refer to the official documentation
- install OMV Extras
- install Docker for OMV
- install Portainer within Docker
- This is done within the OMV web GUI. Navigate to System, OMV-Extras, Docker tab and then click the Portainer menu to install.
- Determine the path to your media file storage. Mine was on a data storage HD in the NAS box, not the boot drive. I needed this path in order to begin the following step.
- Install MotionEye within Portainer
- YouTuber DB Tech offers a video with full instructions. I learned the hard way that you must modify the pair of file paths in this portainer compose script on the line labeled “File Storage”. This is the same path that you will put into each camera’s file storage preferences in MotionEye. I learned that the only path that works in MotionEye is the path entered into the portainer compose script, meaning, you cannot change the path later in MotionEye.
Yes, the above process is a bit convoluted, but I believe it ensures that MotionEye is installed alongside OMV and can function simultaneously on the NAS box.
Unboxing and Testing
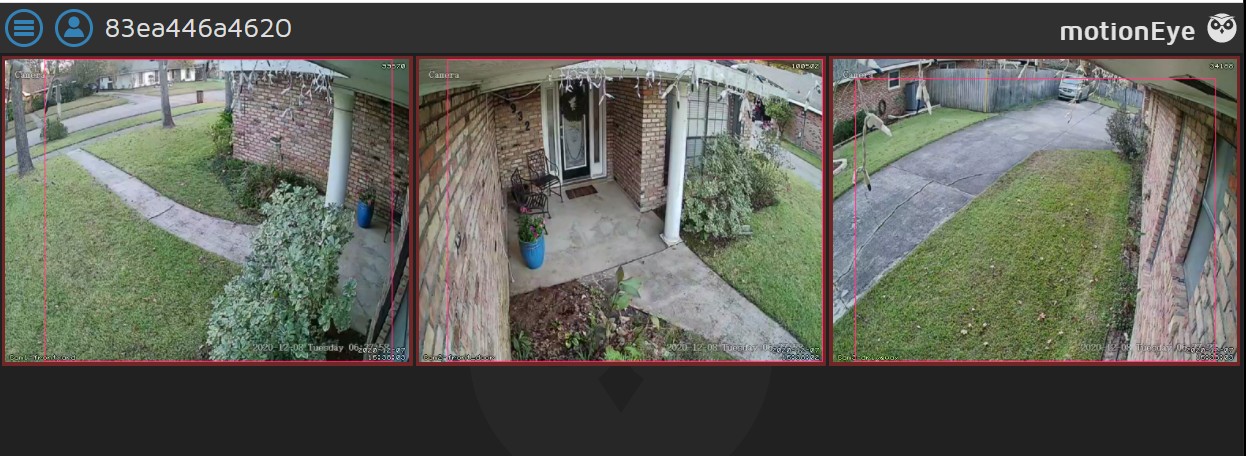
With MotionEye installed and functioning, I next unboxed the cameras and PoE Switch, connecting everything in my living room with short patch cables to ensure everything worked. I was able to add and view the feed from all cameras through MotionEye. The process for adding a camera is:
- Plug everything up and ensure I’ve got ethernet connectivity on all connected ports
- Login to my home router and view the table of all connected devices. Write down the IP addresses of each of the newly listed cameras. They acquire their addresses via DHCP.
- I affixed temporary labels to identify my cameras as “1”, “2” and “3”.
- Login to the MotionEye web GUI and click to add a camera
- Choose “network camera”, and add the address using the format:
- “rtsp://[camera-IP-address]:554/cam/realmonitor?channel=1” where I used the corresponding IP address for each camera
- Down under “Storage” settings for each camera I saw that MotionEye defaulted to storing the video in the var/ directory of my NAS’ boot drive which wasn’t desired. Instead, I created a new “motioneye” folder in a storage volume with plenty of space, and then subfolders “camera1”, “camera2”… for each camera. I pasted this new path into the Storage setting dialog and applied the settings. It is recommended to utilize a separate physical HD exclusively for the security cameras, but I haven’t done this yet.
- Continue this process for each camera.
- Satisfied that I could view the feed of all of my cameras, I shut everything off and disconnected the temporary cabling.
Installing Cameras
Now the fun part…
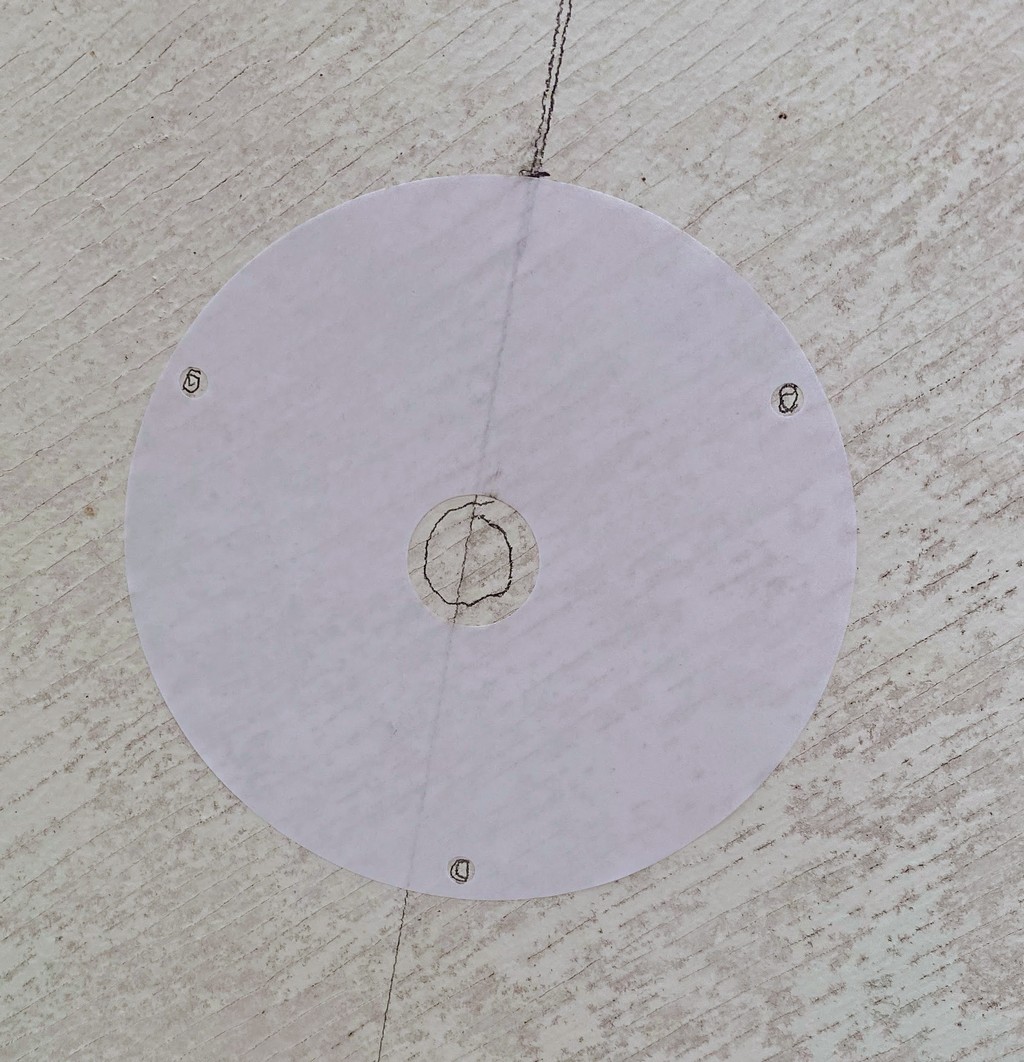
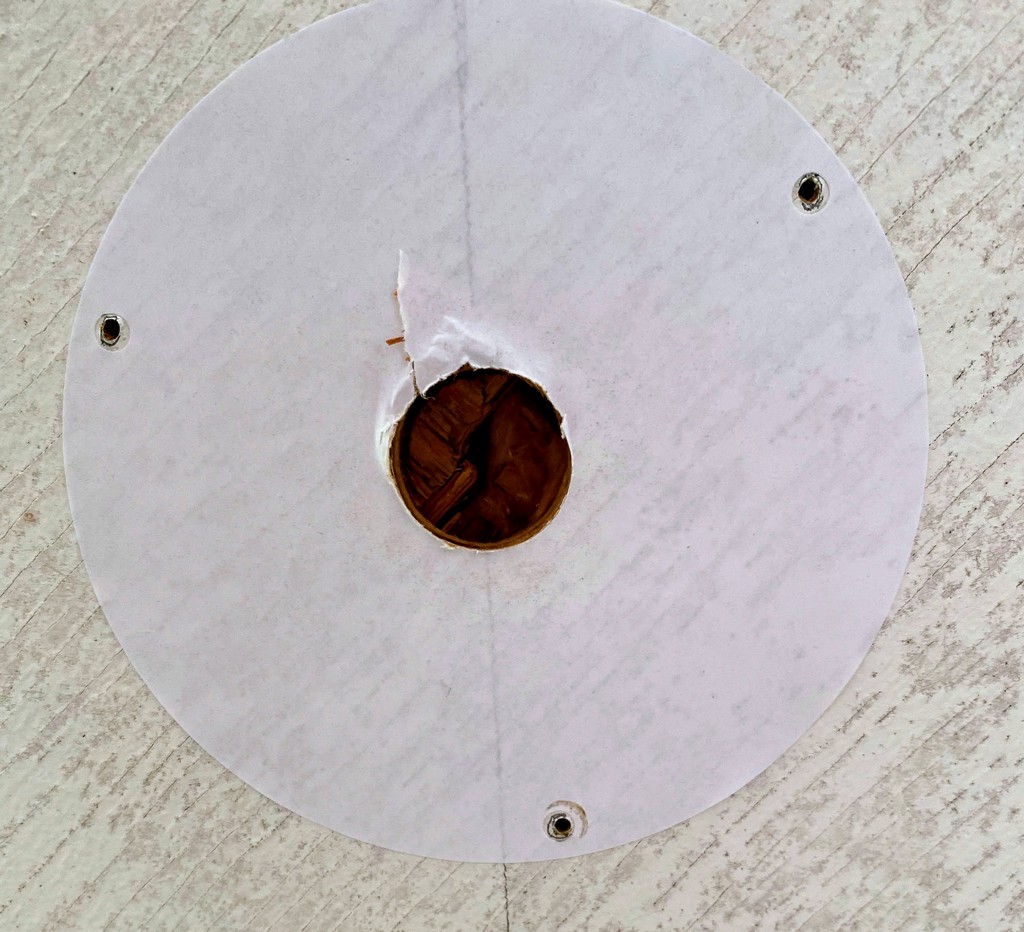
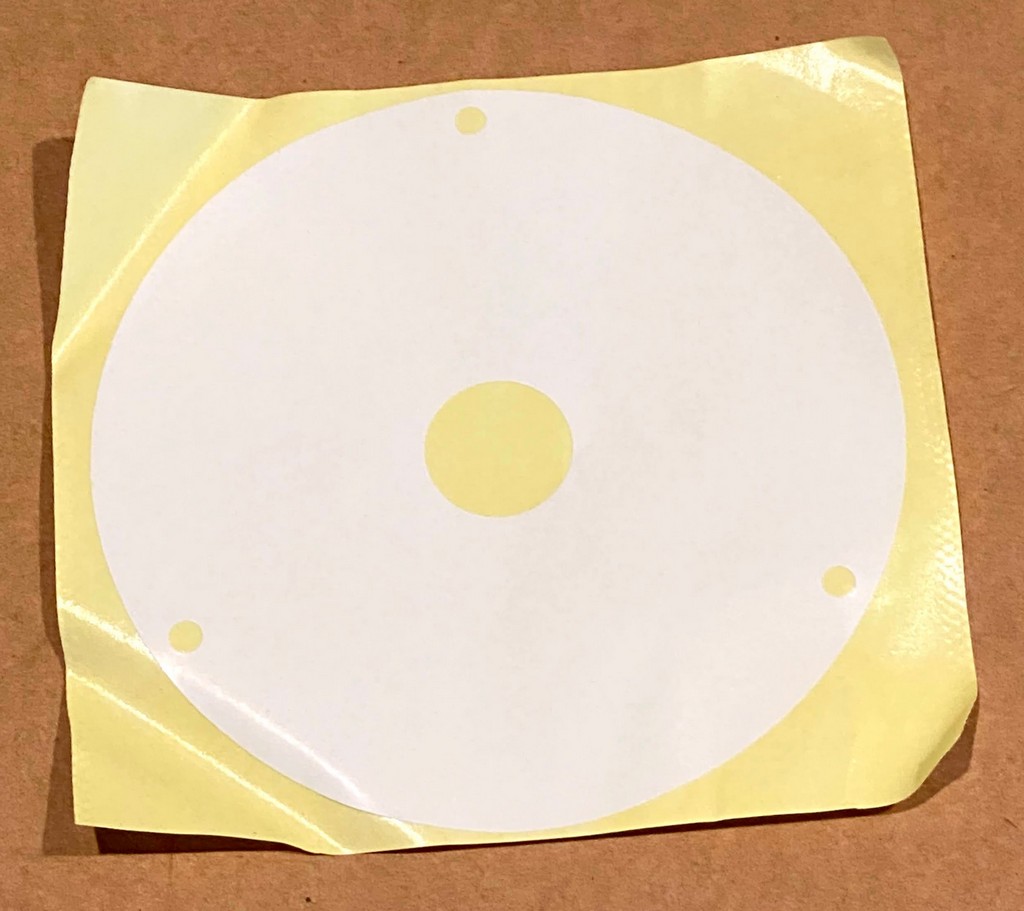
Each camera comes with a sticker template for drilling holes for the cable and 3 screws which I found very handy. I just affixed the sticker to the house eave where I wanted the camera, used a 7/8" spade bit to drill the center hole for the cable, and then a small drill bit to make pilot holes for each of the 3 wood screws. The 7/8" hole would allow me to squeeze the camera’s ethernet port into the attic space since I wasn’t using electrical mounting boxes for each camera. Using boxes would allow one to drill a much smaller hole - the diameter of the CAT 5e cable - and curl the plug and junction ends up in the box. Realistically, this wouldn’t work for me because I’m routing the cable from outside up through the eave and into the attic crawl space. This required using an electrician’s “fish” tape to guide the CAT cable around the roof framing and into an accessible portion of the attic.
I discovered the hard way that it wasn’t possible to mount a camera at the corner of an eave because that portion of the roof was fully “boxed in” with framing and there was no practical way for me to route wire through to the attic crawl space. I would have had to remove the plywood from beneath the eave and drill holes in the roof framing in order to route the wire. This simply wasn’t worth it so I shifted the position of my cameras to a location away from the corner, to which I had a clear line-of-sight from up in the attic and was confident I could run the cable.
In the end, the 1/4" wide electrician’s fish tape was too flimsy for me to route the CAT cable. I grabbed my plumber’s steel sewer clog tape which at about 1/2" wide is much stiffer and more effective in guiding the wire up into the attic.
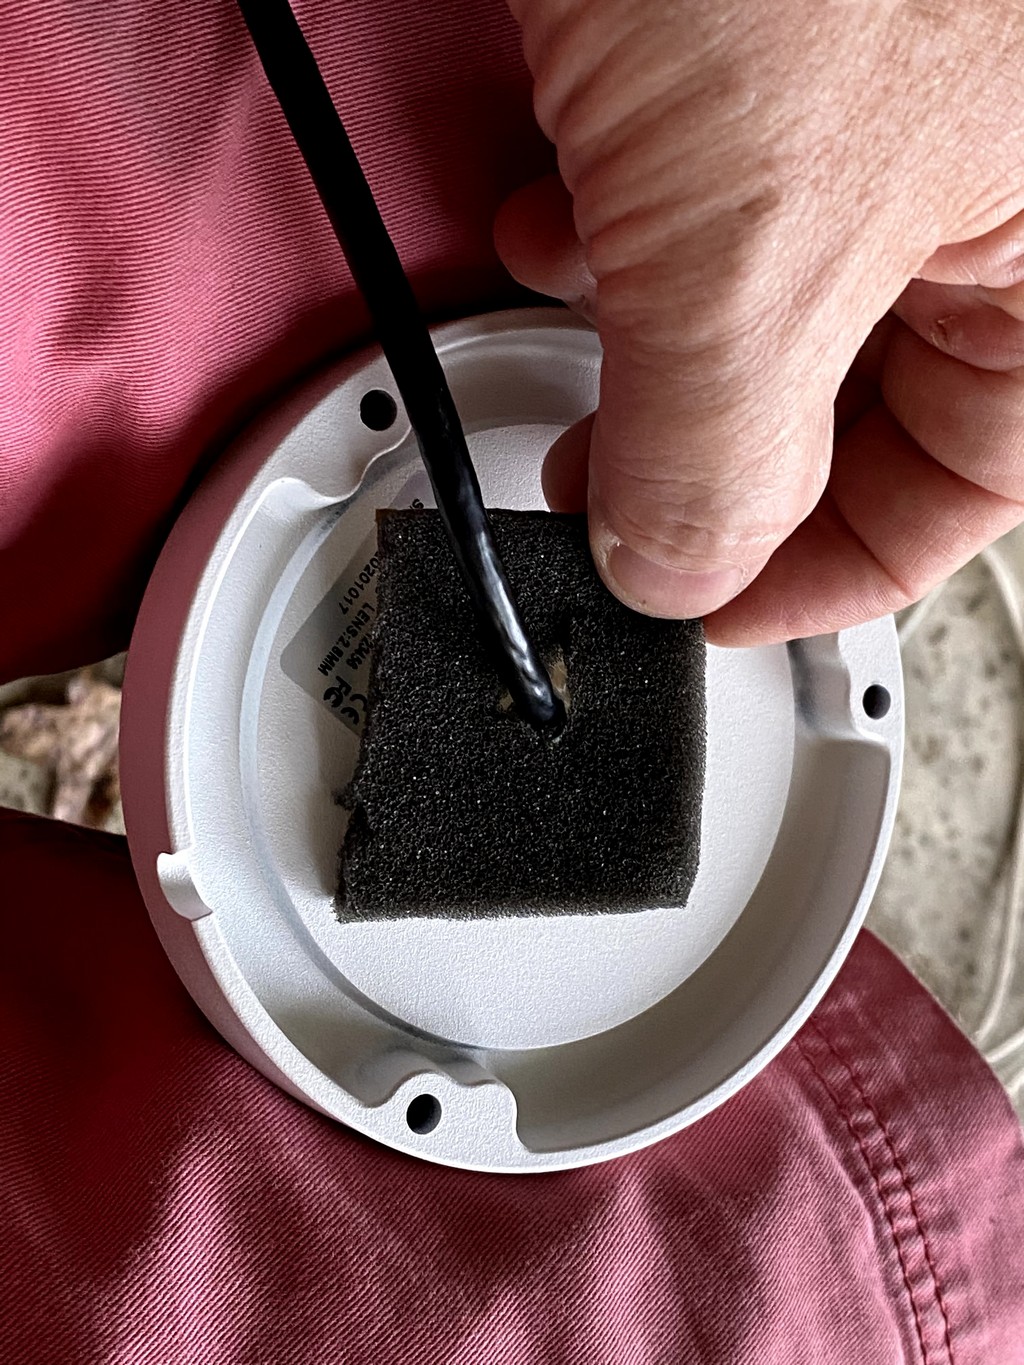
I wanted to seal between the camera base and the 7/8" hole I created in the eave. I had some extra weatherstripping foam with adhesive on one side in my shop. I cut a square that would fit within the camera base, and cut a circular hole in the middle through which I pushed the camera’s cable. When the camera base is screwed up to the plywood eave this foam will seal the hole. Alternately, I suppose one could put a bead of latex caulk around the edge of the camera base just prior to screwing it to the wood, but I didn’t want anything so permanent. There is a cutout on the camera base to allow the cable to be routed externally to a power source and data cable. This would be useful in flush mounted situations where the cable(s) had to run in conduit along a wall or ceiling. This hole should be sealed after mounting the camera to prevent bugs from gaining entry to the attic.
I fully connected one end of the CAT 5 cable to the camera using the weatherproof connections provided and set the camera on the ground below the hole in the eave. Then I used masking tape to affix the free end of the cable to the sewer snake / fish tape being careful to protect the clasp on the RJ-45 plug. Routing the cable up into the attic was fairly easy. Next, I went into the attic, grabbed the end of the snake / cable, removed the masking tape and pulled the CAT cable a bit further into the attic, securing it to a rafter so it couldn’t accidentally slide back down due to gravity. Finally, I went back outside and carefully retracted the plumber’s sewer snake through the hole.
Now it was just a matter of pushing the slack cable up through the hole and then mounting the camera to the eave plywood with the three supplied screws. I used a #1 Phillips screwdriver to get them started and then finished them off with the corresponding bit in my cordless drill using the bit extension to ensure the chuck of the drill didn’t hit the camera dome.
Connecting the Switch

My home is a ranch-style house where the bedroom wing required that I install a second wifi router to ensure coverage throughout the house. The ethernet cabling was already running through my attic, so this second router is where I added the PoE Switch and pulled all of the camera cables to it. The PoE Switch has 2 “uplink” ports. One was connected to the CAT 5e cable running from my primary router. The second was plugged into the secondary wifi router. My NAS is connected to the primary router so this provided a more direct link to it rather than daisy-chaining first through the secondary router.
A future improvement will be to place a UPS battery backup there in the attic with the PoE switch and secondary wifi router to keep them running during infrequent brownouts.
Software Configuration
With the worst of the manual labor finished, I grabbed my laptop and returned to the living room couch where I logged into the web GUI of MotionEye on my NAS. This project is a work in progress. Several questions to be answered are:
-
The cameras retained the IP address they received via DHCP during the test setup in the living room.
-
Each camera has it’s own login and password which needs to be changed. Must I install and use the camera’s proprietary software to access and modify these settings? No. Just use the web browser to visit each camera’s IP address, login with the factory credentials, and then change the password. Afterwards, you’ll have to update the password for each in the MotionEye settings.
-
Zones where motion is ignored are really easy to create for each camera. Essentially, MotionEye draws a grid over the field of view and you click to turn boxes red for areas of the image you wish to ignore. Do the next step - aim the cameras - first though.
Aim the Cameras
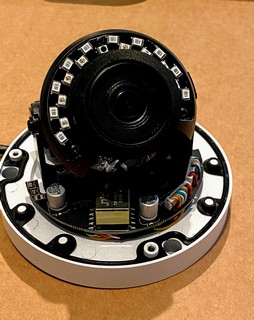
Pulling up the feed from each camera on my laptop I then went back outside and adjusted the aim of each camera. This requires removing the dome of each casing with the supplied Allen wrench. The dome piece is tethered to the base with a short elastic to prevent it from dropping. After the camera was properly aimed I replaced the dome.
Motion Detection Configuration
Now it was time to tweak the motion detection functionality of MotionEye.
Did I set up “no monitor” zones such as masking the street to ensure every passing car didn’t set off a video capture?
What about automated notifications of motion? Emails, TXT messages? Attached thumbnail images… Possibly use Zapier?
Instructional video for MotionEye configuration: youtube.com/watch?v=e27jyEcE5lU
File Storage
See step #6 under the Software Installation section above. Essentially, this must be determined before the MotionEye software is installed via Portainer. Once set, the only way to change it is to go back and rebuild the Portainer stack with the revised file path.
Remote Access

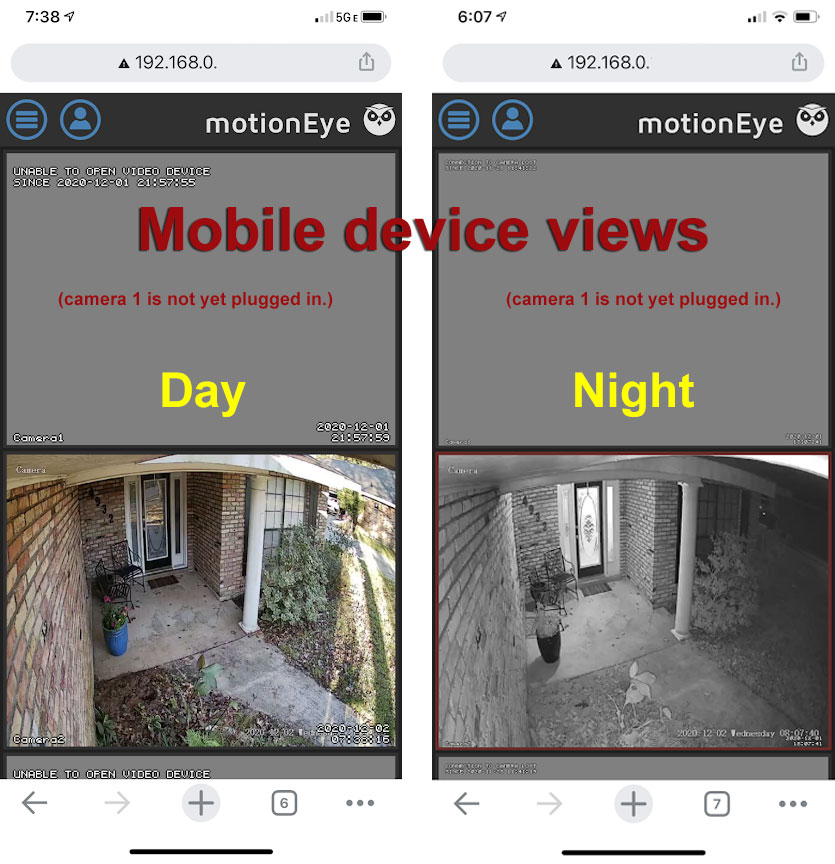
How to view video feeds on your smartphone?
-
Port Forwarding can be used in conjunction with a a Dynamic DNS service
- If a no cost DDNS service is used this costs nothing to view the website of the MotionEye feeds from the web using any device.
- It does introduce a security vulnerability into the home LAN and NAS box. Some people advise against it.
- https://www.noip.com/support/knowledgebase/general-port-forwarding-guide/
- I implemented it using no-ip and my Netgear router, but connections only work reliably from within my LAN. They usually time out when attempting to connect externally which defeats the purpose of this.
-
Connect using a reverse proxy such as Traefik
- instructions at dbtechreviews.com
- Still learning what this does and how this works. github.com/traefik/traefik
Email notifications
- Create a new gmail / Google account just for use with MotionEye.
- Follow these directions to activate email motion alerts
- You have to configure each camera individually, so you’ll get emails from every camera where motion occurs.
- I’ve got this working, including attaching images of the motion event. Unfortunately, the cameras do not detect motion reliably. Usually they’ll get a car driving up the driveway, but they miss people walking, and driveway cam sometimes even misses cars. Conversely, the cameras on the front of the house sometimes email false positives, where no motion is visible in the photos.
Media files to Google Photos or Google Drive
As above, it is recommended to use a new, single-purpose gmail / Google account only for this functionality with MotionEye because it requires configuring the Google account with weakened security access directly from MotionEye.
- Instructions are here
- When I implement this I’m getting error messages and it doesn’t work. Seeking alternatives…
Gallery of Images